Flooring Repair
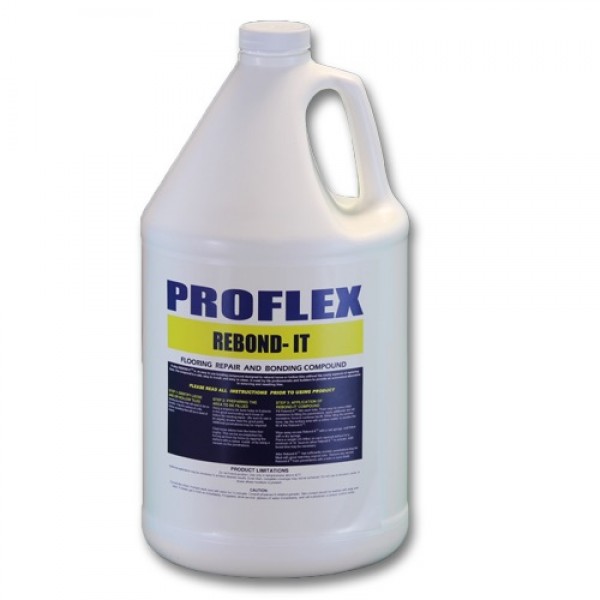
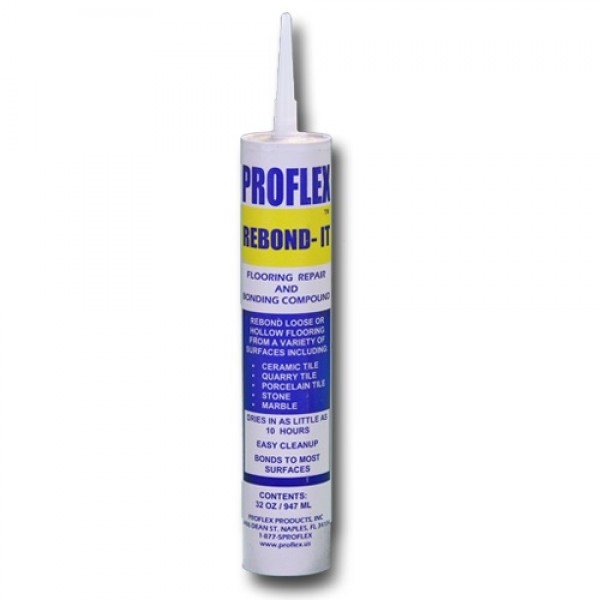
Rebond-it: Flooring Repair and Bonding Compound
Advantages
- Easy to use.
- Cures in as little as 10 hours
- Bonds to most surfaces.
- Quick Cleanup.
- Eliminate the expense of tear out and re-installation of tile
Installation Instructions
1. IDENTIFY LOOSE AND OR HOLLOW TILES Identify the tile(s) that will need to be re-bonded. (Tap the surface of a tile, hollow sounding tiles will be in need of repair)2. PREPARING THE AREA TO BE FILLED Using a masonry bit, bore holes in 6 places in the grout surrounding each loose or hollow tile needing repair, (Be sure to use a bit slightly smaller than the grout joint). Additional penetrations may be required. Clear loose debris from the holes thoroughly. This can be accomplished by forcing air from the holes by tapping the surface with a rubber mallet.
3. APPLICATION OF REBOND-IT COMPOUND Fill Rebond-It into each hole. There may be some initial resistance to filling the penetrations, apply additional, but not excessive, force to continue the fill. While filling the penetrations, tap the surface area with a rubber mallet to monitor the fill of the Rebond-It. Wipe away excess Rebond-It with a wet sponge, and follow with a dry sponge. Place a weight (25-30lbs) on each repaired surface for a minimum of 10 hours to allow Rebond-It to activate. Additional time may be necessary. After Rebond-It has sufficiently bonded, penetrations may be filled with grout matching original color. Remove any excess Rebond-It from penetrations with a knife or razor blade by using a vacuum on the penetrations.
Ceramic Tile, Quarry Tile, Porcelain Tile, Stone, Marble, Granite, Terrazzo
10oz Tubes (24 tubes / 1 CT), 32oz Tubes (12 Tubes / CT), 1 Gal. Container (4 gal. / CT), 5 Gal. Container (36 CT / 1 PA)